

How To Update Kitchen For Under 500
Looking to discover how you too can makeover your kitchen on a crazy low budget? Here'south our frugal kitchen makeover for one of our previous homes!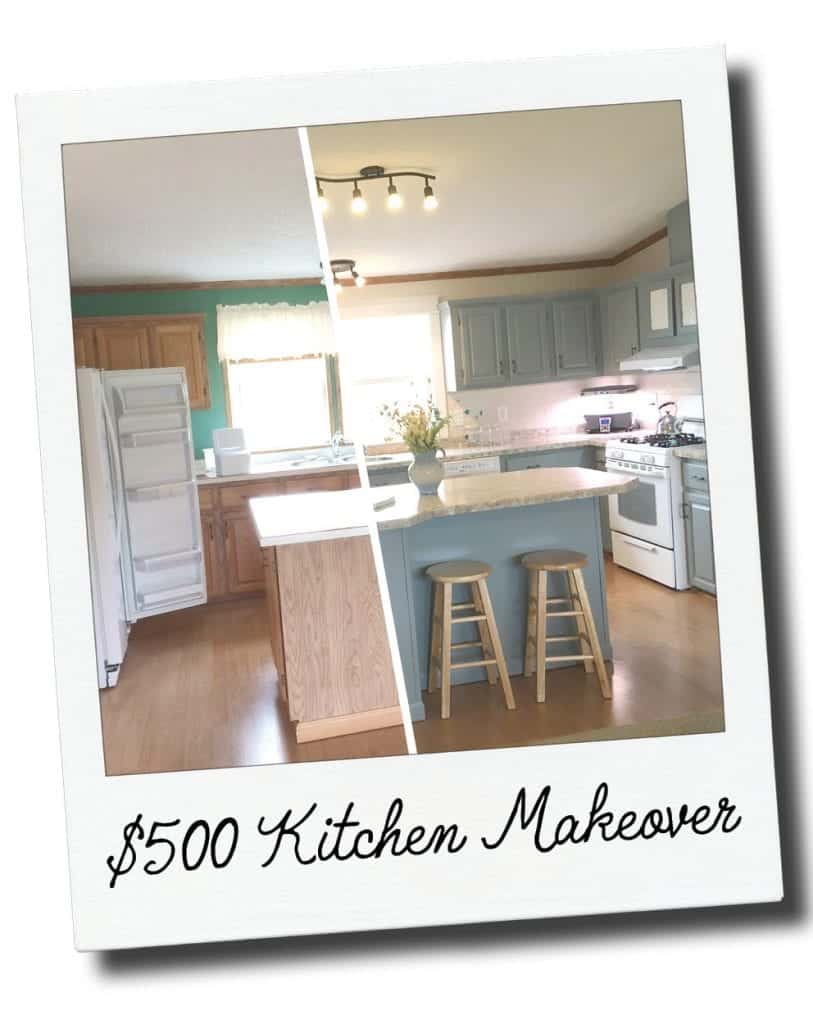
Frugal Kitchen Makeover
If you've been post-obit Niggling Business firm Living in our Facebook group or on my Instagram page, yous already know that we moved from our RV and into a home over again a while dorsum. We had high hopes for doing fulltime RV living over again simply unfortunately had to move out after but half-dozen months of traveling due to some medical needs of our children. We are sad to have to leave that lifestyle behind, merely nosotros know that it'due south for the best at this time and it doesn't hateful that we can't revisit the idea sometime downward the road.
But boy, did we accept a surprise in store for u.s.a.! Non long later we made the conclusion to stop traveling (we were in Oregon at the time), we got a call from my parent'southward neighbors. My parents just have one close neighbor that lives in the house that I grew up in (my parents now live in the house that my grandparents endemic when I was growing up). Anyway, they called u.s. and said they were planning on moving and would we exist interested in buying their home? Yous'd have thought this would be an piece of cake yes for usa and in some ways it was. To enhance our children next door to grandma and grandad and permit them accept the run of most 80 shared acres?
Our hangup was that the house was a mobile home. We did not desire to purchase a mobile home (or whatever home for that matter) because we wanted to build. All the same, this mobile home was well built as far as mobile homes go (surprising right?!) and we knew that we would be able to sell and move the domicile off the land when we are set to build if everything works out that fashion. So nosotros bought the house (which came in well under our upkeep thanks to it being a cheaper abode!) and nosotros worked on fixing it up to make it homey and liveable.
We ended up selling the home afterward a yr because our family has gone into full time missionary work in another country but we LOVED what we did to the habitation to fix it upwardly and the family that bought it loved all the upgrades also.
Life is ever an adventure and though it's easy to get hung upwards on how nosotros wish things would go, it'southward improve just to go with the menses and savor the direction that life takes usa in.
Now that nosotros've gotten the backstory out of the style, I'one thousand excited to share with y'all, pictures of our kitchen makeover! Since condign debt free a few years agone we are determined to stay that fashion and to live as frugal of a life as possible while nosotros salve upwardly the cash for our next goals. Keeping that in listen, we wanted to exist able to redo this house to fit our family but stay on a very tight budget.
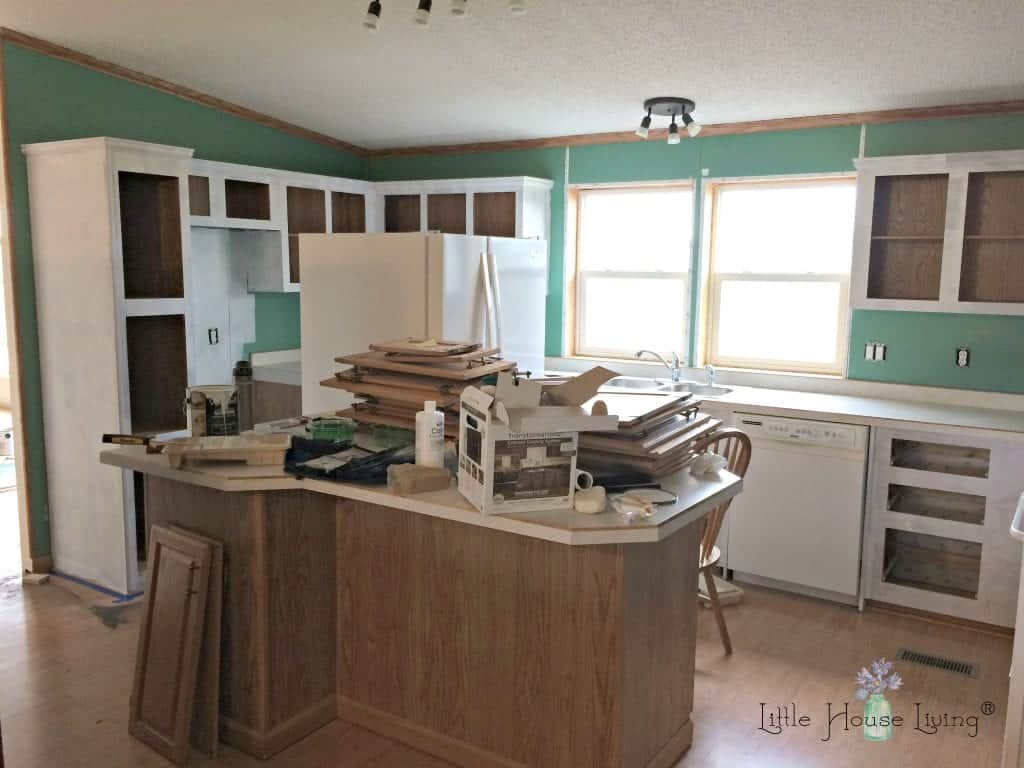
So….the kitchen in this house was Not pretty.

Nope, not pretty. Prissy and big, yes. Typical mobile home kitchen, yes. Potential? Yes!
We did not choose to make any major changes with this kitchen every bit far every bit removing appliances, changing out the sink, ripping out cabinets, etc. Nosotros chose to leave as many things in place equally possible and employ whatever we could in the makeover.
This means all the cabinets and the appliances stayed. We did supercede the hood vent over the stove (information technology was disgusting) and put new trim around the windows, that's it! It's possible that we will replace the lighting sometime down the road as information technology's rather small for the kitchen but at the moment it works, so it's staying.
We began by priming the cabinets. We bought a cabinet painting kit just felt that things would stick ameliorate if nosotros primed everything first. For this, we used Valspar Bonding Primer. It worked very well. It was a very thick, glue-like substance.
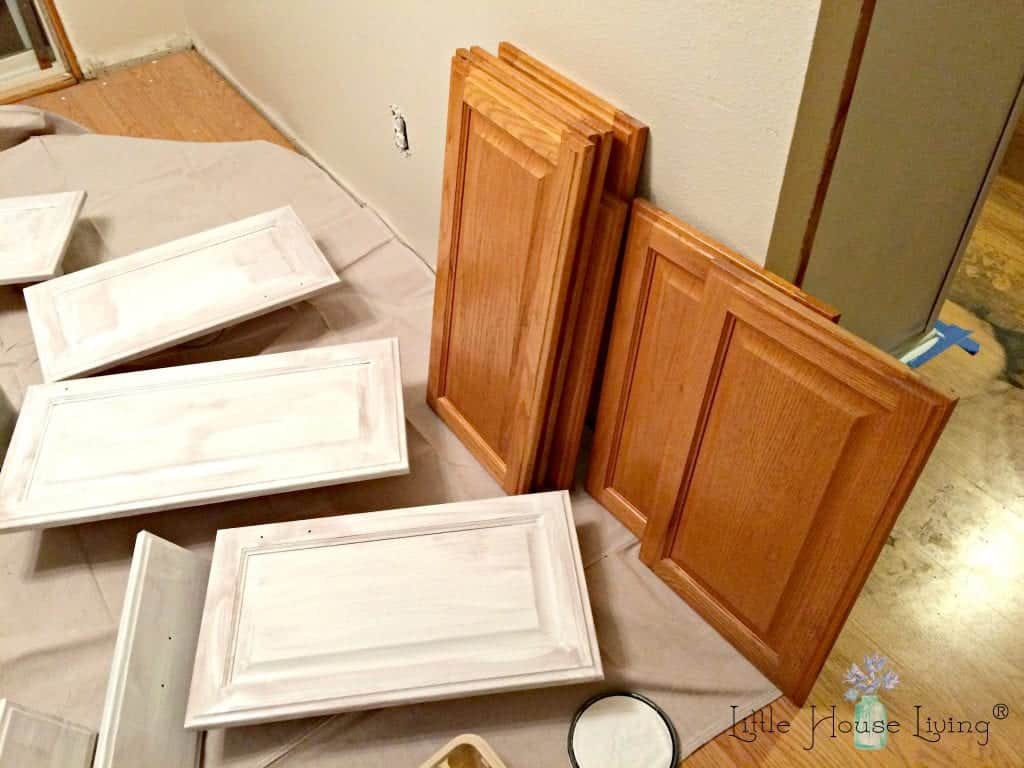
We removed all of the drawers and cabinets doors and painted them with primer. We saved all of the cabinet hinges only tossed all of the pulls, they were in bad shape.
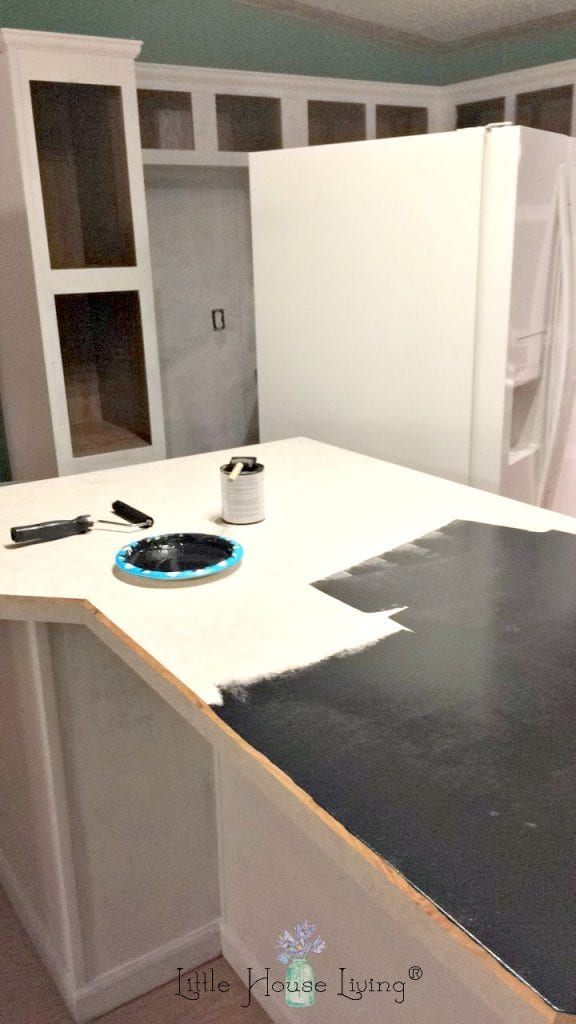
One time the cabinet priming was done, we started the base of operations coat of the countertop. For the countertops, we used Giani Granite Countertop Kit in Sicilian Sand. The basecoat for this color is black and we did non apply a primer earlier painting the countertops. Nosotros let the primer on the cabinets and the countertop blackness base glaze dry out overnight before moving on.
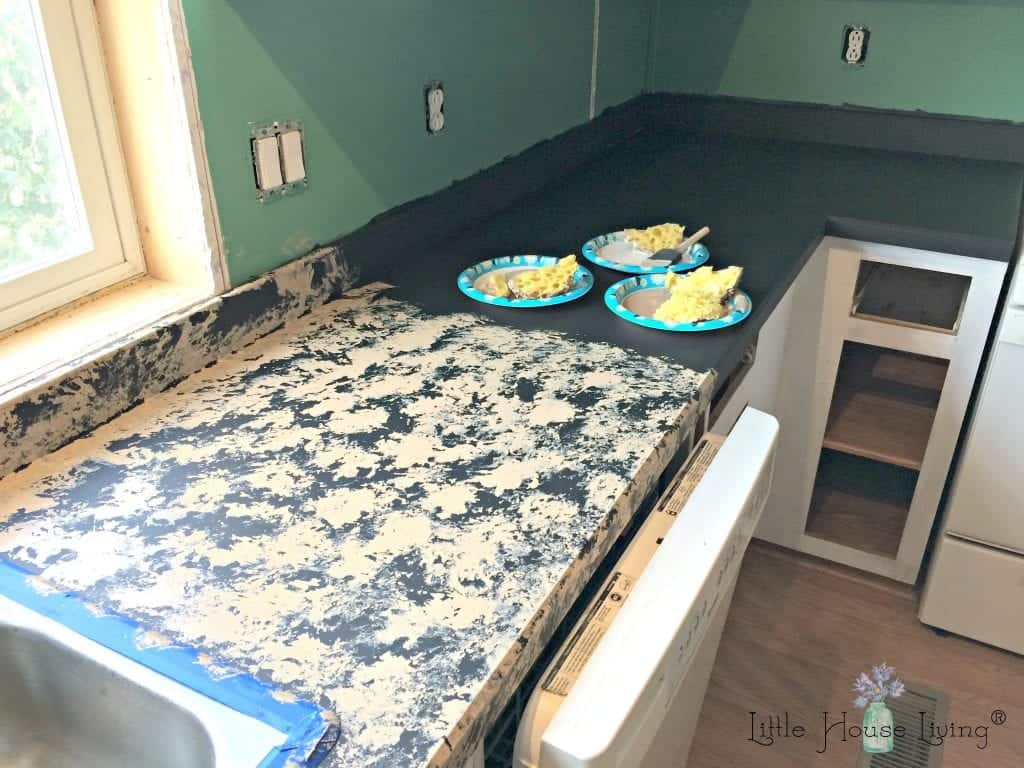
On the second twenty-four hours, we besides began painting the countertop with the colors from the Giani Kit. I let my hubby exercise this as he'due south a little more than of an artist than I am. 🙂 There were 3 dissimilar colors in the kit that y'all sponged on at the same time.
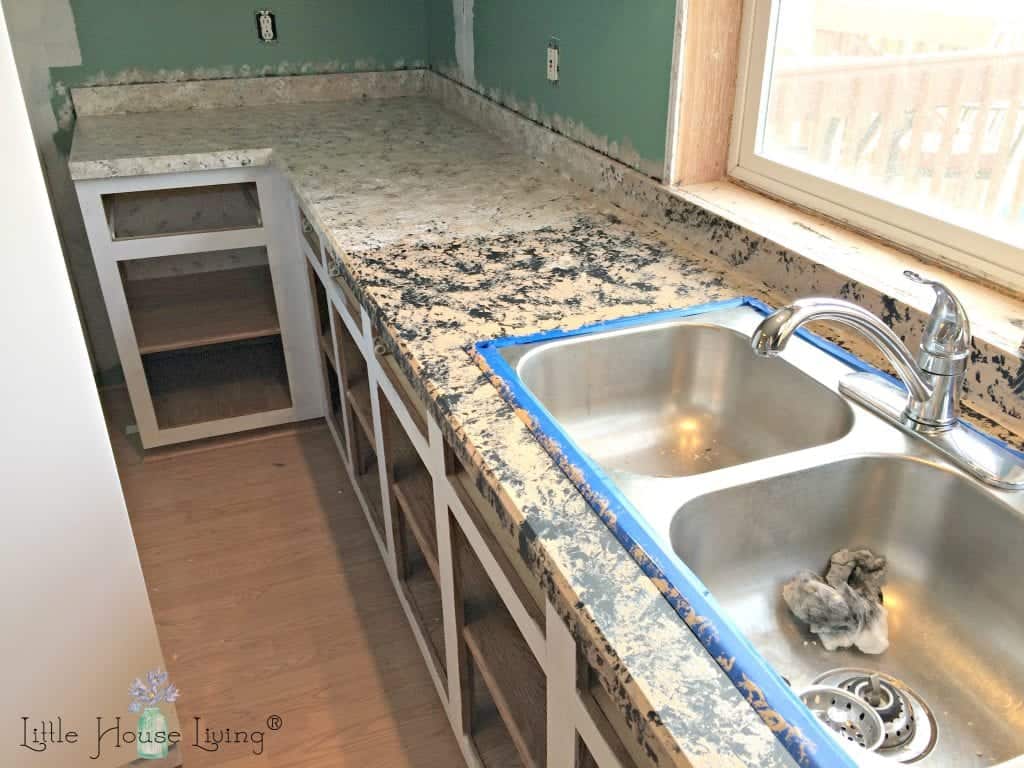
Information technology really didn't expect similar much as it was going on!
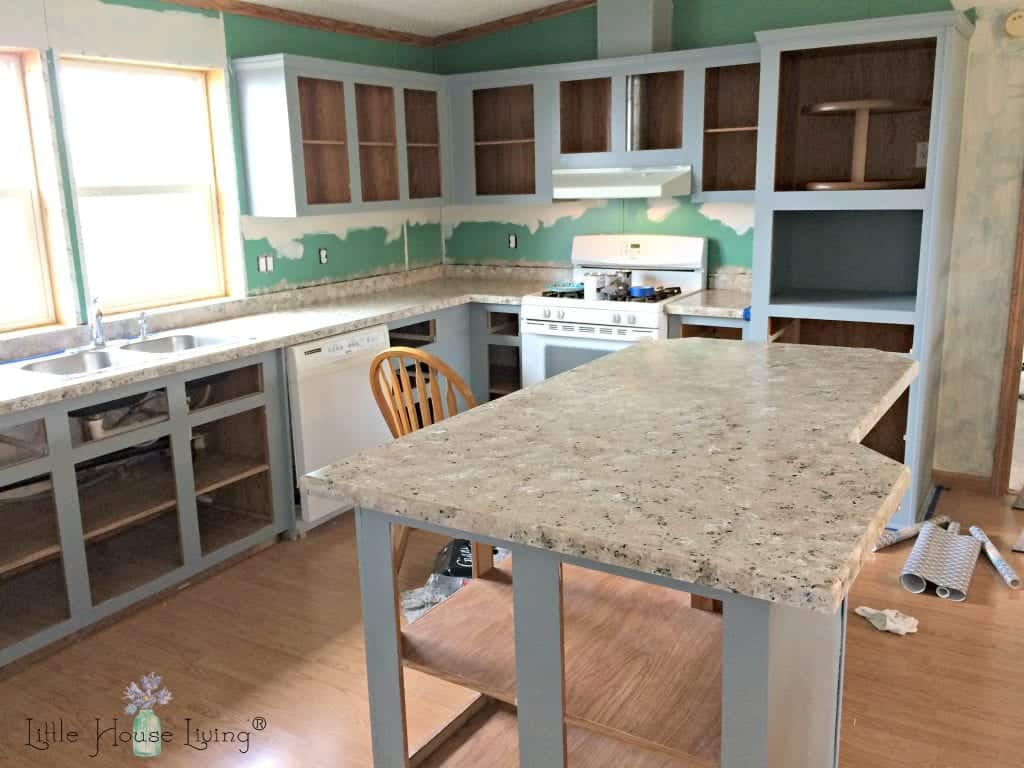
We also began painting the cabinets with the color that we chose. We used the Rustoleum Cabinet Transformations Dark Kit in Seaside. Since we used primer we did not use the de-glosser that the kit came with but started right in on the color. It took ii coats (and a piddling touch up) to encompass all of the cabinets.
Afterwards letting all of this dry another solar day, we finally applied the topcoat on the cabinets from the Rustoleum Kit. Nosotros too practical 3 coats of the glaze on the countertops from the Giani Kit (letting it dry well betwixt each coat).
When everything was finished with the cabinets and the countertops, we painted over the green wall that was in the kitchen with Valspar Simplicity Clay Affections colored paint. Information technology took 3 coats to completely cover the greenish.
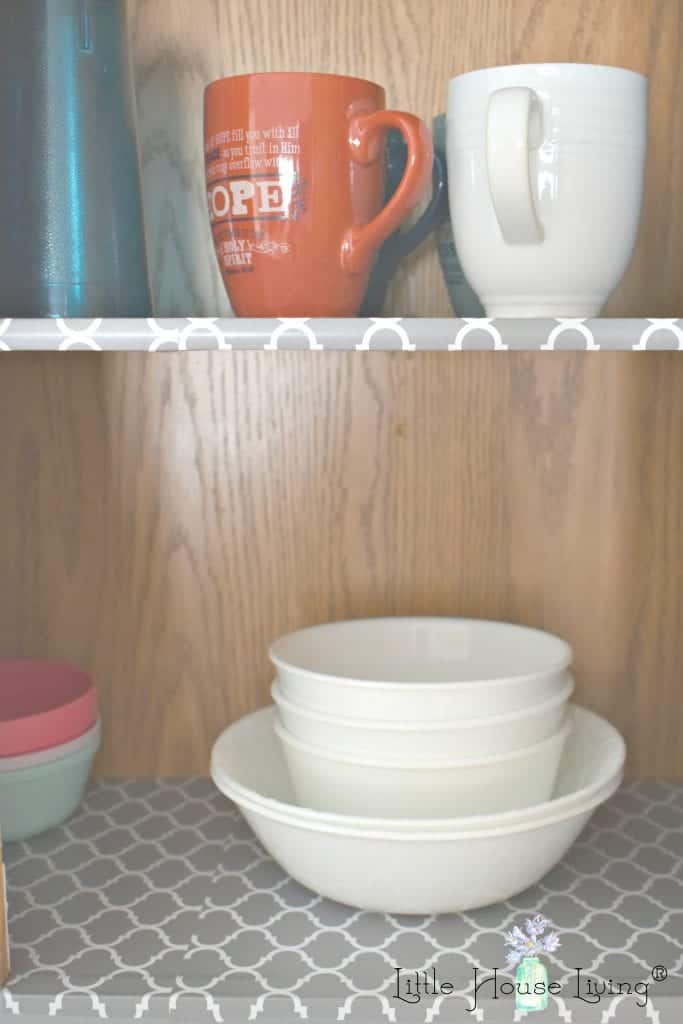
I did not paint the within of the cabinets. Instead, I covered the shelves with an adhesive Contact Paper. (They do sell it on Amazon merely I picked it up for much less at Menards.) Most of the shelves were stained and in crude shape so this really cleaned them up.
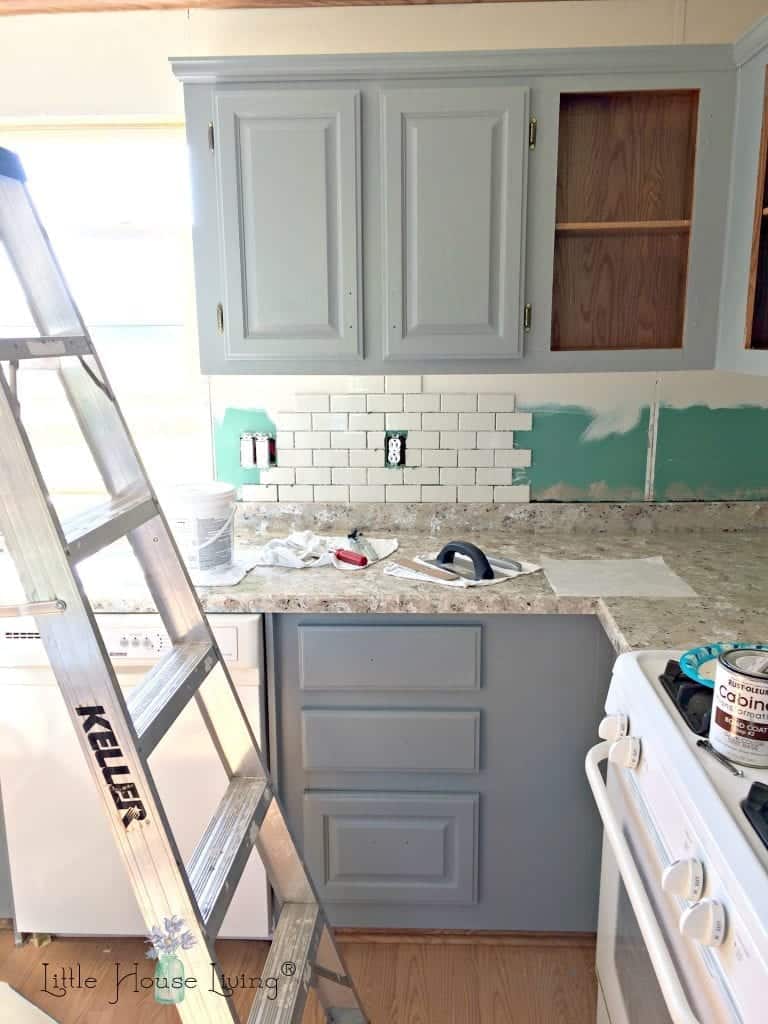
We likewise chose to do a tile backsplash just for ease of cleaning and to accept the kitchen upwardly another level. I picked out some bisque colored pocket-size subway tiles from Menards and a similar colored grout.
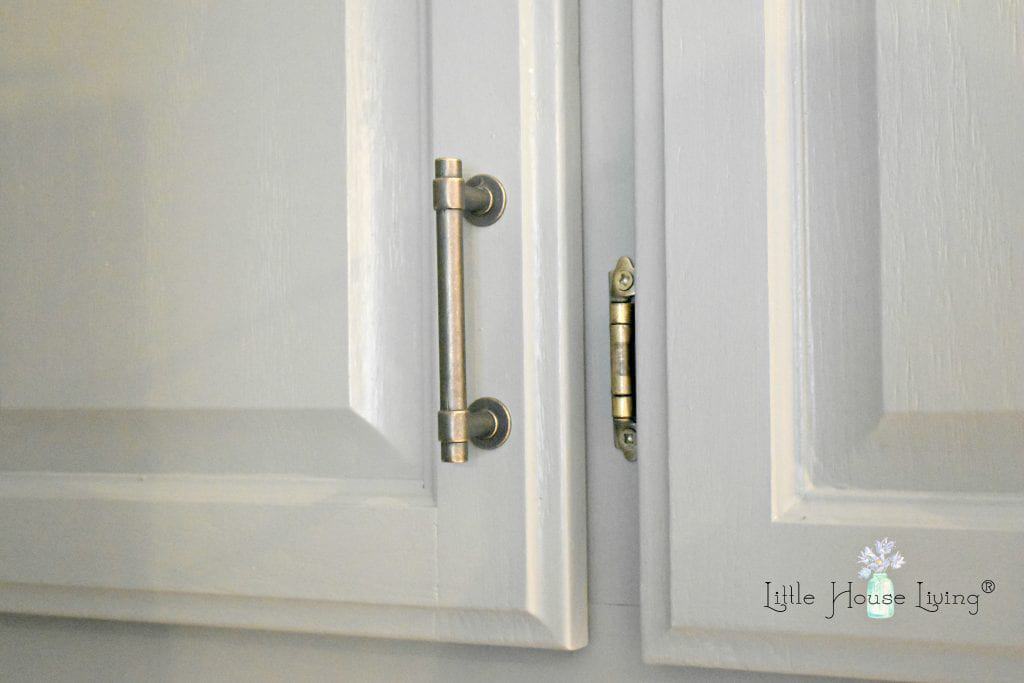
After this was all finished, we put the cabinets back together using the hinges that we had saved. I ordered these Drawer Pulls in Warm Chestnut (which matched the faded brass of the hinges pretty well) from Amazon.

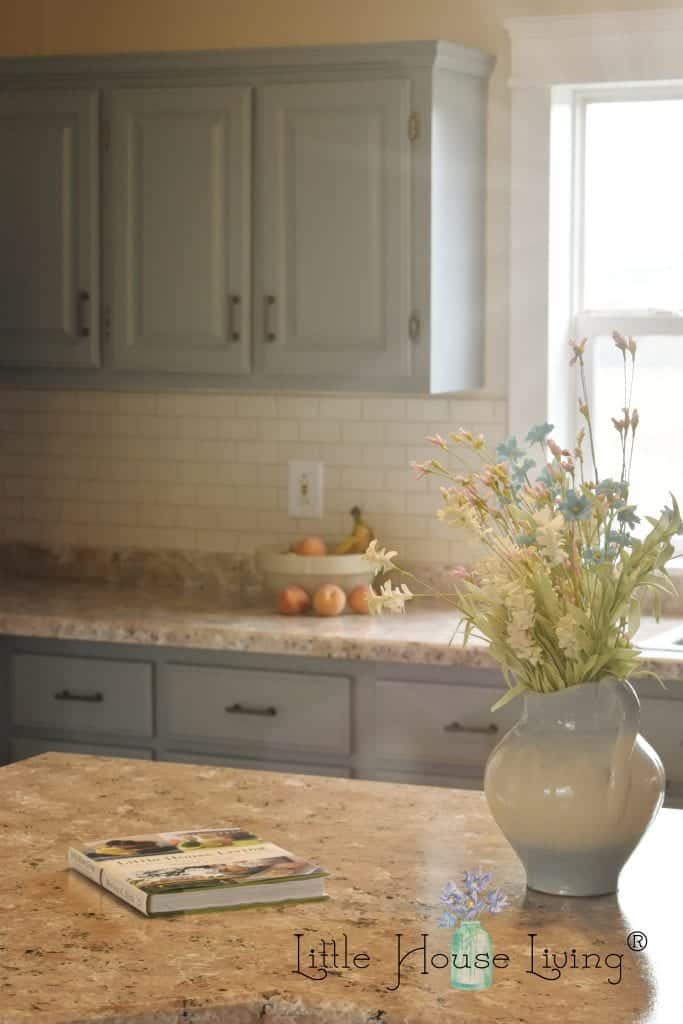
Nosotros also replaced the 2 pocket-size cabinet doors that had gold glass in them. (So not my affair!) We had a ceiling tile leftover from a previous remodel and we bankrupt the drinking glass out of the doors. And so we cutting the tin tile to fit in the doors over the oven. You lot can also run into the replaced vent hood here. Although it added quite a flake to our makeover upkeep, it was worth information technology. The other one was actually gross.
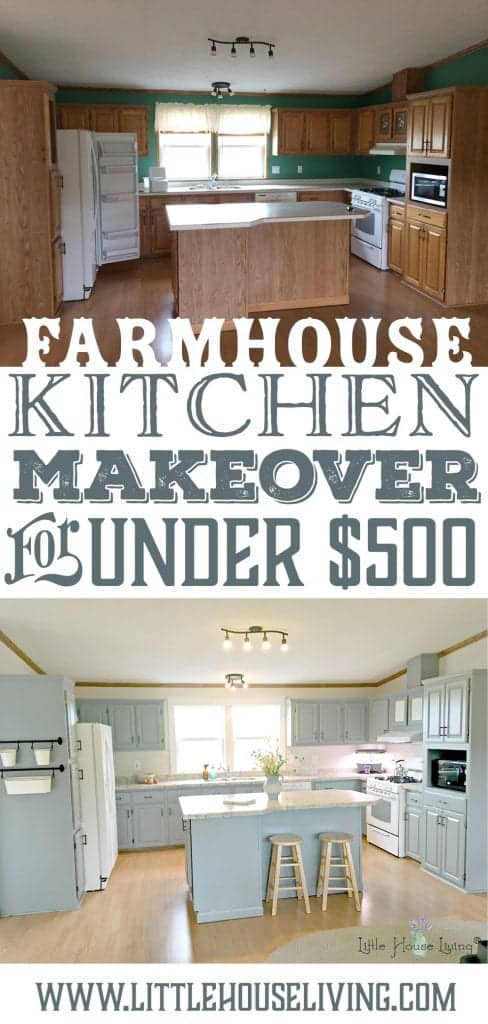
So finally, our frugal kitchen remodel…..

Before
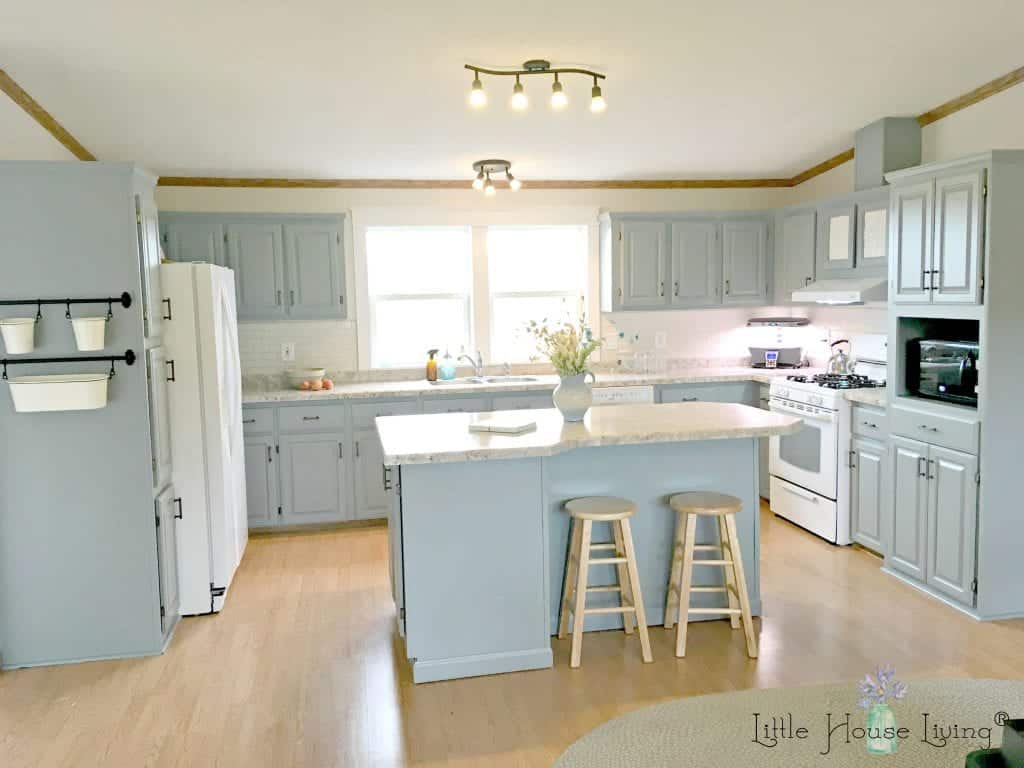
Afterwards
Here is an exact breakdown of our total to complete this kitchen makeover on a budget:
Countertop Kit – $79
Chiffonier Kit – $28 (clearance at Lowes)
Pigment – $25
Primer – $24
Drawer Pulls – $99.95 (and we have some leftover)
Vent Hood – $89
Tile & Grout – $108
Calorie-free Switch Covers – $v
Window Trim – $17
Contact Paper – $5.99
Total = $480.94
Products Used:
- Drawer Pulls in Warm Chestnut
- Contact Paper
- Rustoleum Cabinet Transformations Dark Kit in Seaside
- Valspar Bonding Primer
- Giani Granite Countertop Kit
I love how the kitchen turned out. So completely different than the one it was before…the kitchen I grew up with! Now it fits our mode and looks dainty and updated not only for us but for those who bought it from united states subsequently. All washed on one crazy low upkeep, a $500 kitchen makeover! A lilliputian paint tin go a long way!
—Need more DIY and renovations? Take a walk down memory lane and read the posts on our Farmhouse Renovation from a few years agone.
Have you ever done a frugal kitchen makeover? How did you save?

This Frugal Kitchen Makeover was originally published on Little House Living in October 2018. Information technology has been updated as of October 2019.


Source: https://www.littlehouseliving.com/frugal-kitchen-makeover.html
Posted by: millertifficust1973.blogspot.com
0 Response to "How To Update Kitchen For Under 500"
Post a Comment